
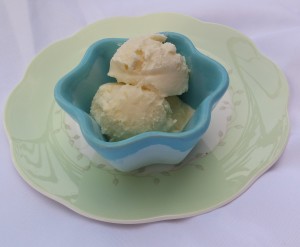
Want your kids to become independent AND history-savvy? Have them head to the kitchen to make some Independence Ice-Cream!
Here’s a cold hard fact: George Washington LOVED ice-cream. And here’s something else: Spending time in the kitchen is a perfect way to learn about history.
Now parents and teachers—and anyone who spends time with kids—can solve the hum drum of learning history by making it hands-on. Add in food, and kids will be clamoring to discover America’s past—while working to build an understanding future.
Hands-on food experiences not only increase learning, but they provide a delicious connection to America’s past. During the American Revolution, for example, soldiers often ate ‘ash bread’, a concoction of flour and water that was baked in the ashes of the fire. Okay, perhaps not so delicious. But let’s not forget how much George Washington loved ice-cream. Though food, and especially luxuries like ice-cream, was often scarce during America’s fight for independence, this new-fangled treat became popular in the newly formed United States. George Washington supposedly spent $200 on ice-cream during the summer of 1790, an amazing sum at the time. By the early 1800’s the treat became more affordable and only continued to increase in popularity.
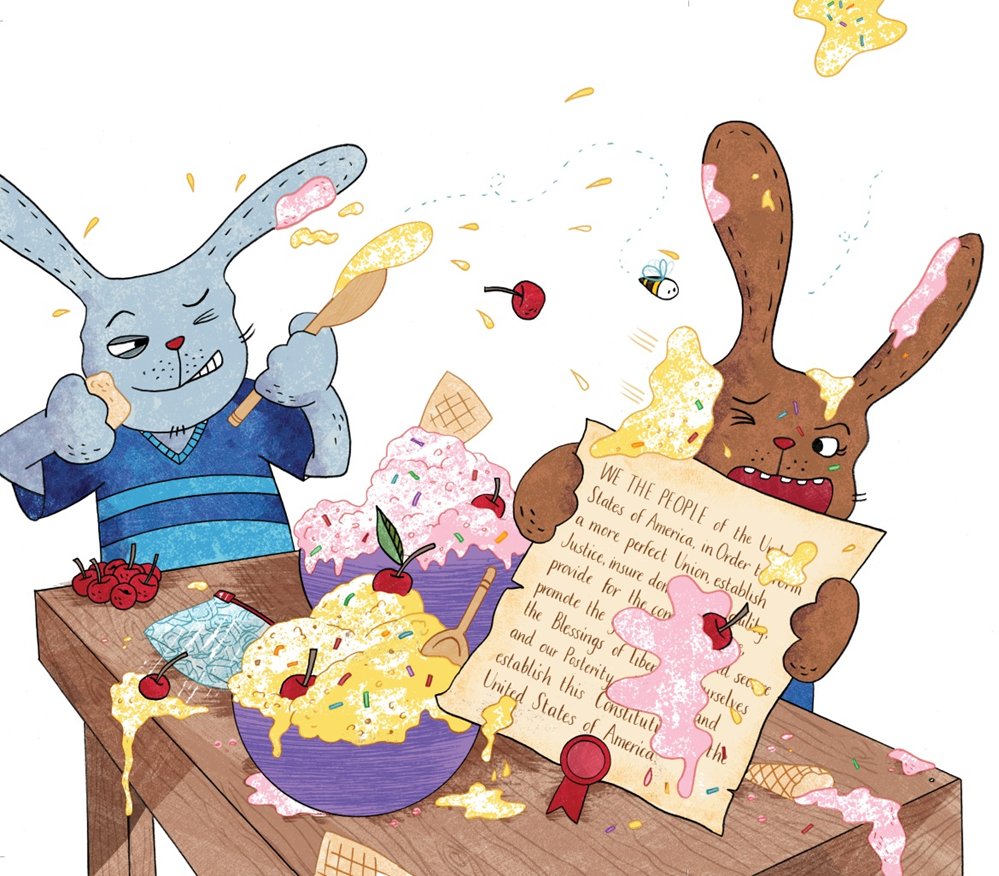
As America fought for independence from England in 1776, King George III and George Washington had a serious disagreement!
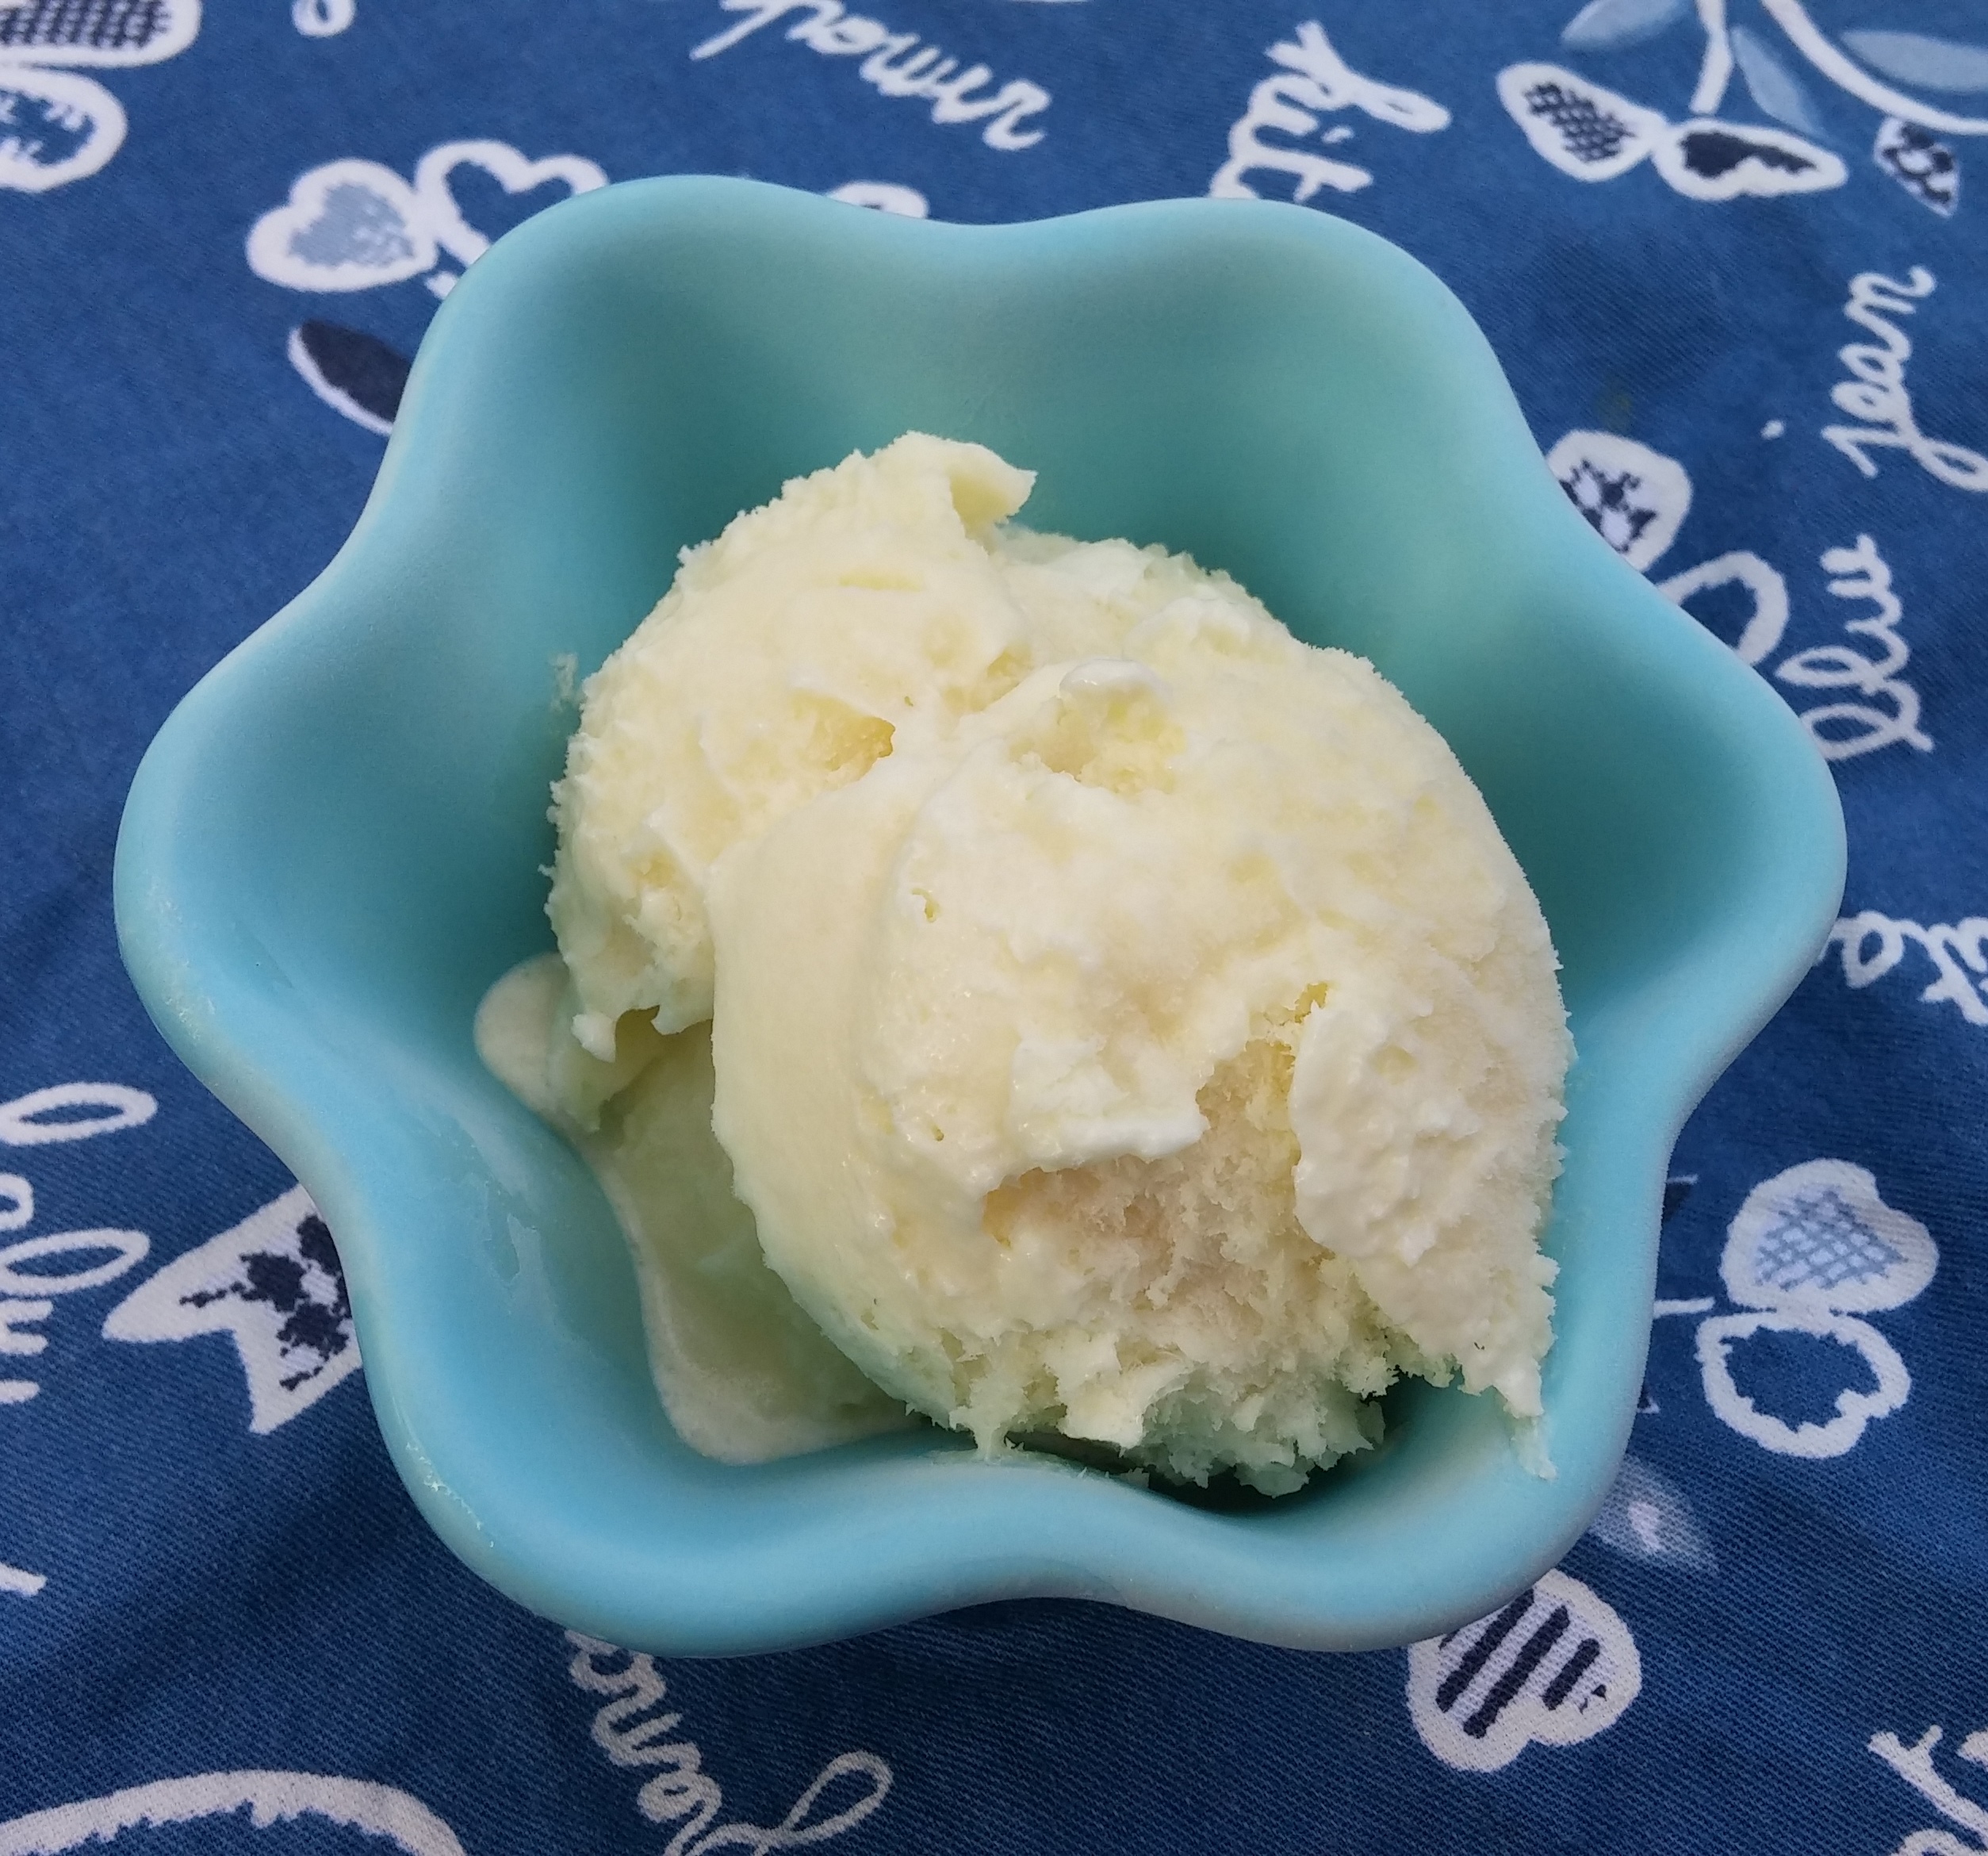
Now kids can make their own ice-cream in order to enhance learning. Here is a recipe that transcends time and place. All you need are a few key ingredients—and yum!
[RECIPE] Independence Ice Cream
Before You Begin
Prep time: 25 minutes
Yield: 1 serving
Difficulty: intermediate
Ingredients
Ice cubes
1/2 cup salt (Rock salt if you have it, but table salt will also work)
2 tablespoons sugar
1 cup heavy cream
1/2 teaspoon vanilla
Equipment
1 gallon-sized, sturdy ziplock bag

2 pint-sized, sturdy ziplock bags
Warm gloves—that ice gets cold!
Spoon
Small serving bowl
Method
- Fill the larger ziplock bag half full of ice. Pour the salt over the ice.
- Place the sugar, cream, and vanilla in one of the smaller ziplock bags. Press out the air before sealing the bag. Place this bag inside the second small ziplock bag ( using two bags ensures no accidents!).
- Put the sealed cream mixture inside the bag of ice and close this larger bag. Put on the gloves and shake the bag vigorously for 5 minutes (You can share this task with someone else if you want).
- Put the mixture in the freezer for 4 minutes.
- Take the bag out and shake again for 5 minutes.